Spring Blossom Wreath with Faux Branches and Greenery
A light, airy spring wreath made by cutting faux blossom branches into short lengths and tucking them into a grapevine base in one direction, with bare vine left showing between them.

Tutorial at a glance
Materials
- Grapevine base, about 14 in (36 cm)
- About 3 or 4 long faux blossom branches in blush and cream
- 1 or 2 stems of small-leaved faux greenery
- Floral wire or paddle wire
- Wire cutters
- Hot glue gun and glue sticks (optional)
- About 1.5 yd (1.4 m) of soft blush ribbon, roughly 1.5 in (4 cm) wide
A spring blossom wreath works best when it looks as if a few flowering twigs have been bent into a circle, with air between them. The method here uses faux blossom branches cut short and tucked into a grapevine base, so the brown vine stays visible and does half the decorating for you.
The hard part is restraint. It is tempting to keep adding stems until the ring is covered, and that turns a light spring wreath into a heavy floral one. Fewer stems, in varied lengths, all traveling the same way around the ring, give the result you are after.
What You Need
- Grapevine base, about 14 in (36 cm) across
- About 3 or 4 long faux blossom branches in blush and cream
- 1 or 2 stems of small-leaved faux greenery in a fresh green
- Floral wire or paddle wire
- Wire cutters (faux branches have a wire core that ruins scissors)
- Hot glue gun and glue sticks, optional
- About 1.5 yd (1.4 m) of soft blush ribbon, roughly 1.5 in (4 cm) wide
| Part | Suggested size | Note |
|---|---|---|
| Grapevine base | 14 in (36 cm) | Measured across the vine ring |
| Finished wreath | About 17 in (43 cm) | Twig tips extend past the base |
| Blossom pieces | 4 to 8 in (10 to 20 cm) | Mix the lengths on purpose |
| Ribbon tails | About 12 in (30 cm) | Trim after hanging |
Cut the Branches into Short Lengths
A long faux branch is stiff and straight, and a ring is neither. Short pieces follow the curve. Look along each branch for the points where side twigs join the main stem and cut just below those joints, so every piece keeps a natural fork and a bare stub of stem to tuck in.
One long branch usually gives about four shorter pieces. Make them different lengths, from roughly 4 in (10 cm) to 8 in (20 cm). Cut wire is sharp, so point the branch away from you and keep the offcuts in a dish.
Before any piece goes on the wreath, open it up. Faux branches arrive pressed flat in their packaging. Bend the twigs apart, turn a few blossoms to face forward and give each piece a slight curve to match the ring.

Plan the Direction and the Gaps
Lay the base flat and find its best side. Decide where the top is, then choose one direction of travel. This wreath runs clockwise, with every twig tip pointing the same way. A single direction is what makes separate pieces read as one sweeping branch. The guide to swapping seasonal decorations on one base shows a small accent cluster on the same size of grapevine.
Set the pieces loosely on top of the base before fixing anything. Aim for uneven spacing: two pieces close together, a stretch of bare vine, then a single long piece. Leave the bottom center clear for the ribbon.
Tuck and Secure the Twigs
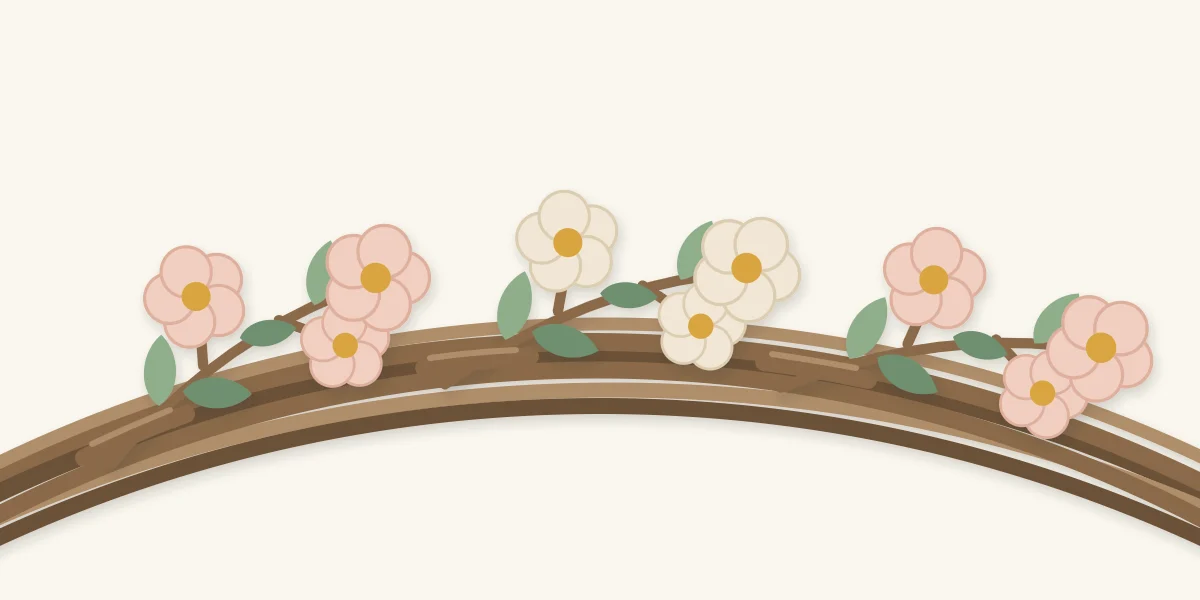
- Start at the lower left. Take one of the longest pieces and slide its stub between two vines at a shallow slant, so the twig lies almost along the ring with its tip pointing clockwise. A stem pushed straight in sticks out like a spoke.
- Push the stub in until about 1.5 in (4 cm) is hidden. If it holds when you tug gently, friction is doing the job. If it slides, wrap a short length of floral wire around stem and vine, twist it at the back and bend the cut ends into the base.
- Place the next piece a little further around, with its stub hidden under the blossoms of the first. Leave bare vine before the third piece.
- Continue clockwise, alternating long and short pieces and letting some tips reach past the outer edge and a few lean toward the center.
- Tuck short sprigs of greenery beside the stubs. Their job is to hide the points where stems enter the vine, so use small pieces and only where a stub shows.
- Stop while roughly a third of the vine is still visible. Hang the wreath up, step back and only then decide whether it needs one more piece.
A dot of hot glue on a stub makes the hold permanent, but it also means the base cannot be reused cleanly. Glue-gun tips and fresh glue burn, so keep fingers clear and let the glue firm up before moving the wreath.
Tip
Work with the grain of the base. Grapevine is twisted in one direction, and a twig tucked along that twist slides in easily and lies flat. Against the twist it fights you and lifts.
Add the Ribbon
Pass the ribbon around the base at the bottom center, tie a single knot at the front and let the two tails trail. Cut the tails at a slant or in a V so they do not fray square, and make one slightly longer than the other. A soft, unwired ribbon hangs in loose folds, which suits the airy look. For a fuller finish, follow the steps for making a layered loop bow with wired-edge ribbon and wire it on at the same spot.
Common Problems
- It looks crowded. Pull out every third piece. Gaps are part of the design, and a wreath that is completely covered belongs to a different style, such as the full faux flower wreath on a foam base.
- Twigs stick straight out. They went in at too steep a slant. Pull them out and tuck them again, nearly parallel to the vine.
- The wreath hangs tilted. More weight has ended up on one side. Move the hanging point slightly toward the heavy side.
Hanging and Display
Tie a loop of twine or floral wire around a few vines at the top back of the base and hang the wreath from that. Indoors, it suits a wall, a mantel shelf or a mirror. On a front door, choose a covered entrance where you can. Sun, rain and wind change faux petals and ribbon just as they change natural materials: colors fade, fabric petals go limp when wet, and ribbon marks. Keep the wreath away from candles, fireplaces and heaters.
Variations
Use all cream blossoms with a sage ribbon for a quieter version, or mix in a few pale yellow sprigs. For a half wreath, keep every twig on the left side and let the right side stay bare.
Frequently asked questions
How many blossom branches does a 14 in (36 cm) grapevine base need?
About three or four long branches is a reasonable starting point, since each one cuts into roughly four shorter pieces. The exact number depends on how full the branches are. Stop adding pieces while about a third of the vine still shows.
Do the twigs have to be glued in?
No. A stem tucked along the twist of the vine often holds by friction alone, and a short wrap of floral wire secures any that slide. Wire keeps the wreath reversible, so the grapevine base can be stripped and decorated again.
Can a faux blossom wreath hang on an outside door?
It can, but a covered entrance is the better choice. Sun, rain and wind change faux petals and ribbon as well as natural materials, so colors may fade and fabric may go limp when wet. Bring it in during rough weather.


