Minimalist Hoop Wreath: A Simple Asymmetrical Greenery Design
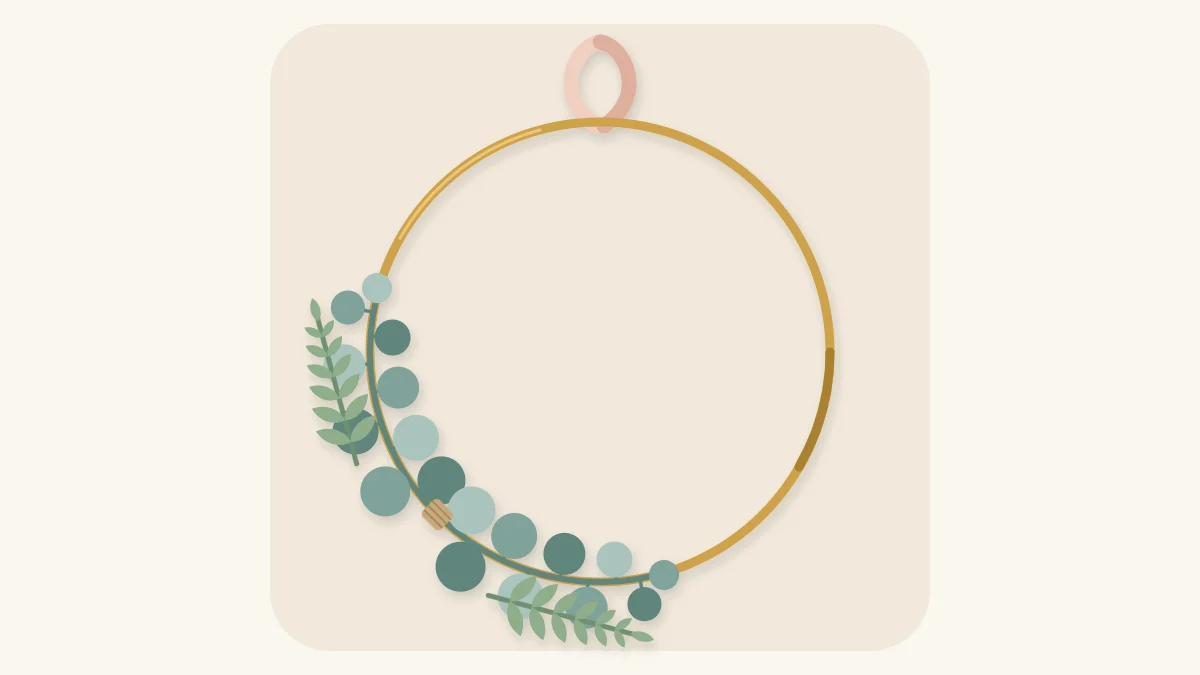
A mostly bare hoop with a small spray of greenery on the lower left. Two stems, one binding point and a narrow twine wrap are all it takes.
Tutorial at a glance
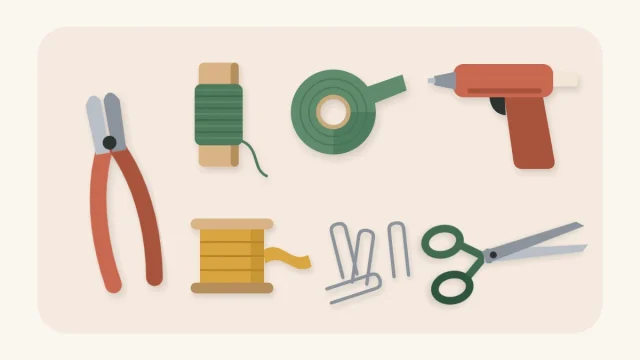
Materials
- Metal or wooden hoop, 10 to 12 in (25 to 30 cm)
- Two faux or dried leafy stems, about 6 to 7 in (15 to 18 cm) each
- Two or three small filler sprigs
- Fine floral wire or floral tape
- Wire cutters
- Twine or narrow ribbon for the wrap
- Ribbon or twine for hanging
A minimalist hoop wreath is mostly empty space. A thin metal or wooden hoop stays bare for about two thirds of its length, and a small spray of greenery covers the rest. It uses a handful of stems, one length of wire and a short piece of twine or ribbon.
With so little on the ring, every stem is visible, and the position of the spray decides whether the wreath looks calm or lopsided. This tutorial uses a 10 to 12 in (25 to 30 cm) hoop and an asymmetrical spray on the lower left, the most forgiving position for a first attempt. It is meant as indoor wall decor.
What You Need
- A metal or wooden hoop, 10 to 12 in (25 to 30 cm) across
- Faux or dried greenery: two main leafy stems, such as eucalyptus-style sprays, plus two or three small filler sprigs, such as fern tips
- Fine floral wire, or floral tape
- Wire cutters
- Twine or narrow ribbon, about 1/4 in (6 mm) wide, for the wrap
- A second length of ribbon or twine for hanging
Choose stems that are light and fairly flat. A hoop has no bulk to counter heavy material, so thick flowers or cones will drag the decorated side straight to the bottom.
Faux or Dried Greenery
Both work on a hoop, and they behave differently.
| Material | Handles like | Watch for |
|---|---|---|
| Faux greenery | Flexible, bends to follow the hoop | Wire core needs wire cutters |
| Dried greenery | Stiff and brittle, natural texture | Snaps if forced into a curve, sheds |
| Mixed | Faux for the curve, dried as filler | Keep the colors close in tone |
Faux stems are easier for a first hoop, because you can bend the wire core to match the curve of the ring. Dried material fades naturally and turns fragile, so handle it by the stems and keep the wreath away from damp and direct sun.
Place and Bind the Spray
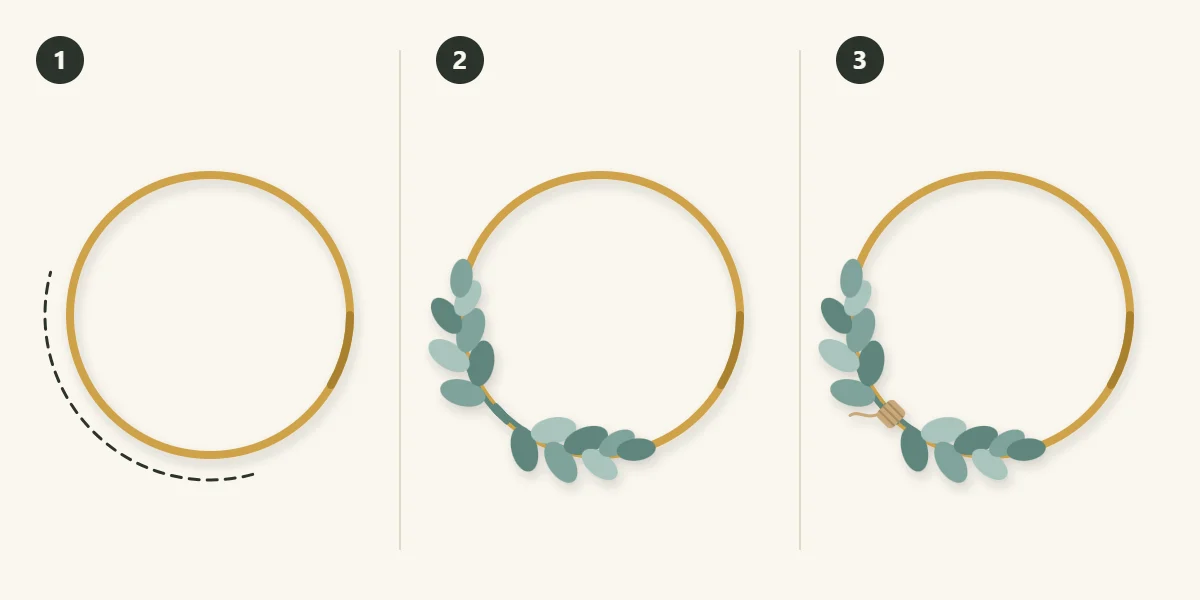
Cut the two main stems to about 6 to 7 in (15 to 18 cm) each. Together they should cover about a third of the hoop. Strip the leaves from the last 1 in (2.5 cm) of each cut end so the ends lie flat against the ring.
- Mark a third of the hoop. Lay the hoop flat and decide which point is the top. Find the lower left section, roughly from the seven o’clock position to the ten o’clock position, and mark its two ends and its middle lightly with a pencil or with small pieces of tape. On a smooth metal hoop, wrap a few turns of floral tape around the middle mark so the wire has something to grip.
- Lay two stems pointing apart. Place the first stem along the marked arc with its cut end at the middle mark and its tip pointing up the hoop. Place the second with its cut end overlapping the first at the same mark and its tip pointing down toward the bottom. The stems now run in opposite directions from a shared center point and follow the curve of the ring. Bind the overlapped ends to the hoop with fine wire, wrapping tightly five or six times, then cut the wire and press the end flat against the stems.
- Bind the center with twine. Tuck the small filler sprigs under the main stems at the center, one pointing each way, and add a turn of wire if they are loose. Then wrap twine or narrow ribbon around the binding point in close, neat turns until all the wire and the bare stem ends are hidden. The wrap only needs to be about 1 in (2.5 cm) wide. Knot it on the back and trim the tails.
Pointing the stems two ways from one center makes the spray thickest in the middle and thinner toward both tips, so the greenery fades into the bare hoop. For more on wiring and taping stems, see the guide to attaching materials to a wreath.
Watch out
Cut wire ends are sharp. Bend each one back against the stems before you wrap over it, so it cannot poke through the twine and scratch the wall or your fingers.
Where to Put the Focal Point
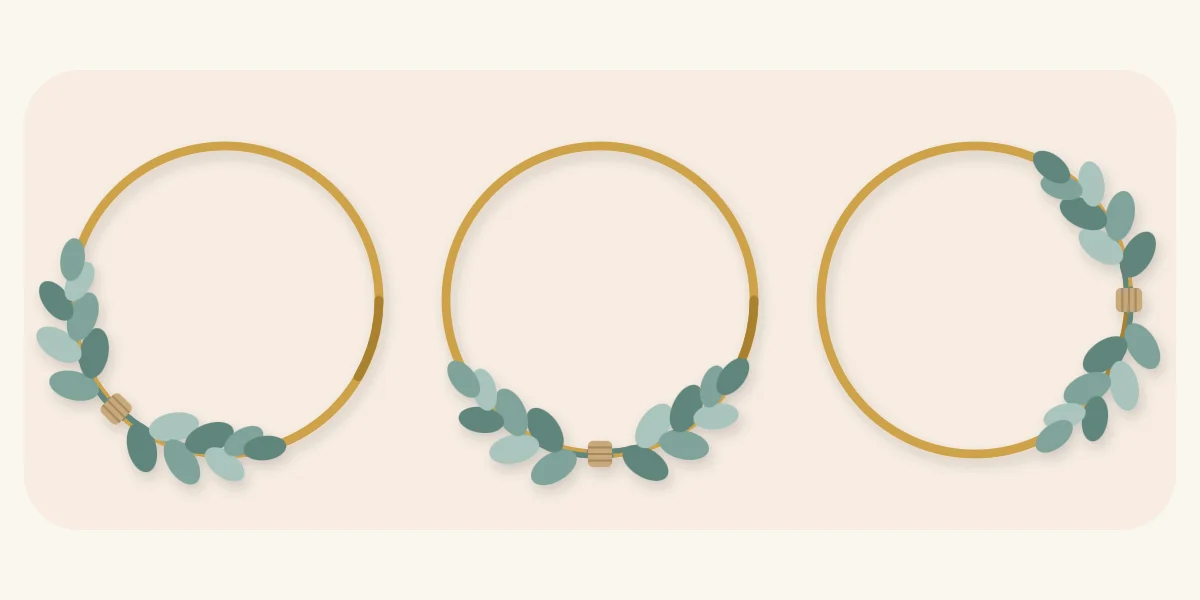
The spray is the only thing on the ring, so its position is the whole design. Three placements are common.
- Lower left. The most forgiving choice. The weight sits low, so the hoop hangs steadily, and the off-center position looks intentional even if the two stems are not quite equal.
- Bottom center. Symmetrical and calm. It needs two stems of matching length and fullness, because any difference between the sides is easy to see.
- Right side. A stronger, more graphic look. The weight sits off to one side, so the hoop will try to rotate until the spray hangs at the bottom. Fix the hanging ribbon firmly at the top to hold the hoop in position.
Whichever you choose, keep the coverage to about a third of the ring. The guide to balanced wreath composition explains visual weight and accent layouts in more depth.
If Something Goes Wrong
- The spray slides around the hoop. The binding has nothing to grip. Unwrap it, add floral tape to the hoop at the binding point and wire again more tightly.
- The stems stick straight out. They are not following the curve. Bend faux stems gently to match the ring, and add a single turn of fine wire near each tip to hold it against the hoop.
- The hoop rotates when hung. The spray is heavier than the hanger can hold in place. Tie the hanging ribbon tightly with a knot that grips the hoop, or move the spray lower.
Hanging and Variations
Loop a length of ribbon or twine around the top of the hoop and knot it, leaving a loop long enough to hang over a small nail or hook. A hoop wreath is very light, but still check the hook maker’s weight rating and surface instructions. Hang it on an indoor wall, above a shelf or in a window that does not get strong sun, and keep it clear of candles, lamps and heaters.
To vary the design, swap the greenery for grasses and small blooms and follow the method for a dried flower wreath on a hoop, which builds the spray from several small bundles.
Frequently asked questions
How much of a hoop wreath should be covered?
About a third of the ring keeps the look minimalist. Once the greenery passes the halfway point, the bare section starts to look unfinished instead of intentional. Two stems of about 6 to 7 in (15 to 18 cm) cover roughly a third of a 10 to 12 in (25 to 30 cm) hoop.
Why does my hoop wreath keep turning when it hangs?
The decorated side is heavier than the bare side, so the hoop rotates until the spray hangs at the bottom. Use lighter stems, place the spray lower on the ring, or tie the hanging ribbon tightly so it grips the hoop at the top.
Is a metal or a wooden hoop better?
Both work. A wooden hoop gives wire and twine more grip, while smooth metal is slippery and benefits from a few turns of floral tape at the binding point. Metal is thinner and looks more delicate, and wood has a warmer, more casual look.