How to Decorate a Grapevine Wreath: A Beginner Method
Tuck stems along the twist of a 14 in (36 cm) grapevine base, then layer greenery, three focal flowers and filler, using wire so the base can be reused.
Tutorial at a glance
Materials
- 14 in (36 cm) grapevine base
- About 6 to 8 faux greenery stems
- Three faux focal flowers
- A few small faux filler sprigs
- Thin floral wire
- Wire cutters
- Hot glue gun (optional)
Learning how to decorate a grapevine wreath is mostly a matter of working with the base instead of against it. The twisted vines already hold stems for you, so a beginner can get a secure, tidy result with very little wire and almost no glue. The base is also good-looking on its own, which means you only need to cover part of it.
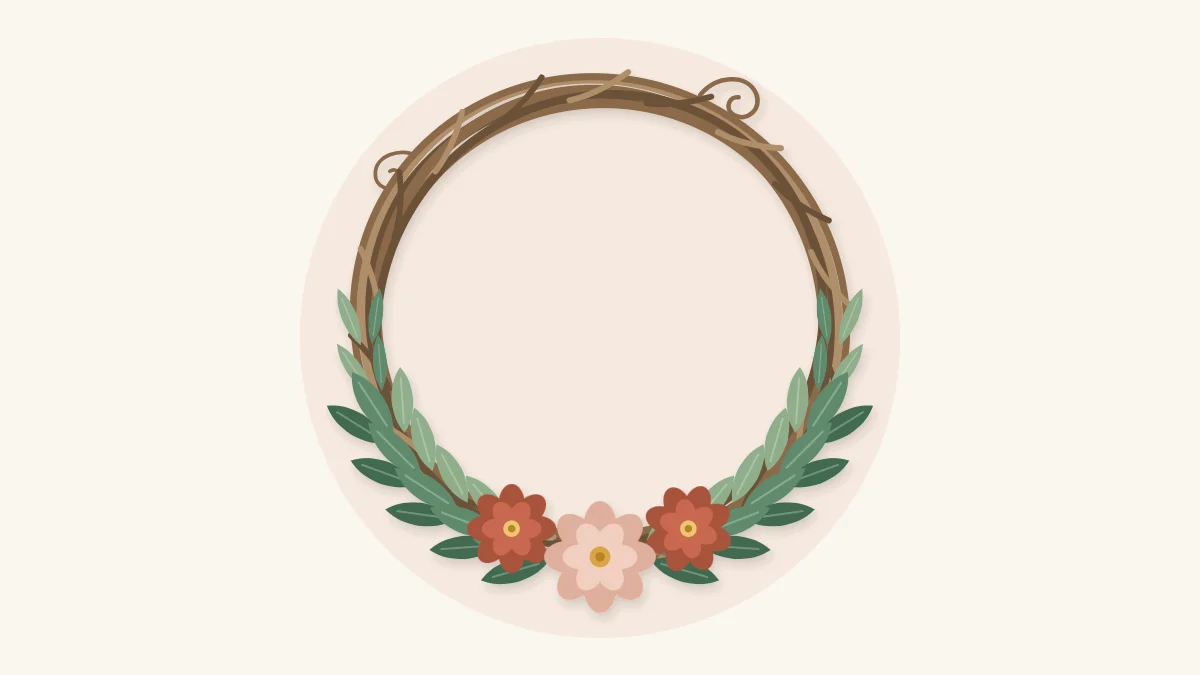
The method below uses a 14 in (36 cm) grapevine base, faux greenery and three focal flowers, with small filler sprigs to finish. The decoration sits on the lower half of the ring and the upper half stays bare vine.
Start with the Base
A bought grapevine base and a homemade one behave the same way. If you would like to wind your own from fresh vines, the steps are in the guide to making a grapevine wreath base. Either way, shake the base outdoors to knock loose bits of bark off, and snip any stray ends that poke out where you do not want them.
Then look at the twist. The vines spiral around the ring in one direction. Run a finger along them and note which way they lean, because every stem you add will slide in along that same line. Lay the base flat and decide which point is the top. Many bases are slightly oval or thicker on one side, so turn it until the heaviest part sits at the bottom, where the decoration will go.
What You Need
- One 14 in (36 cm) grapevine base
- About 6 to 8 faux greenery stems in sage and darker green
- Three faux focal flowers, about 3 in (8 cm) across
- A few small faux filler sprigs
- Thin floral wire and wire cutters
- Hot glue gun, optional
Cut the greenery into pieces about 6 to 8 in (15 to 20 cm) long, and trim the flower stems to about 3 in (8 cm). Short stems are easier to hide and hold more firmly than long ones.
Tuck Stems Along the Twist
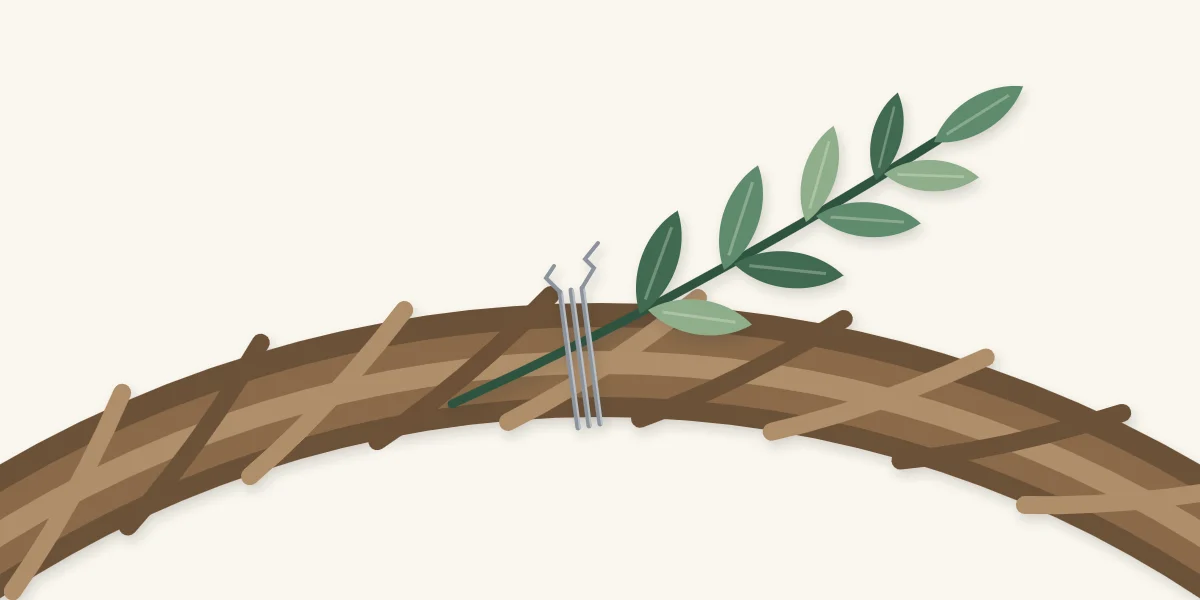
Hold a greenery piece at a shallow angle to the ring, pointing the same way the vines lean, and push the cut end between two strands. Slide it in until at least a third of the stem is buried. A stem pushed straight down into the base stands up like a flag and works loose; one that follows the twist lies flat and is gripped along its length.
Give the stem a light tug. If it shifts, cut a short piece of thin wire, pass it around both the stem and a vine, twist the ends together at the back and bend the sharp ends into the base. One wire per stem is plenty.
Watch out
Cut wire ends and the snapped ends of dry vine are both sharp. Bend wire ends back into the wreath, and wear gloves if the base is rough.
Layer in Order: Greenery, Flowers, Filler
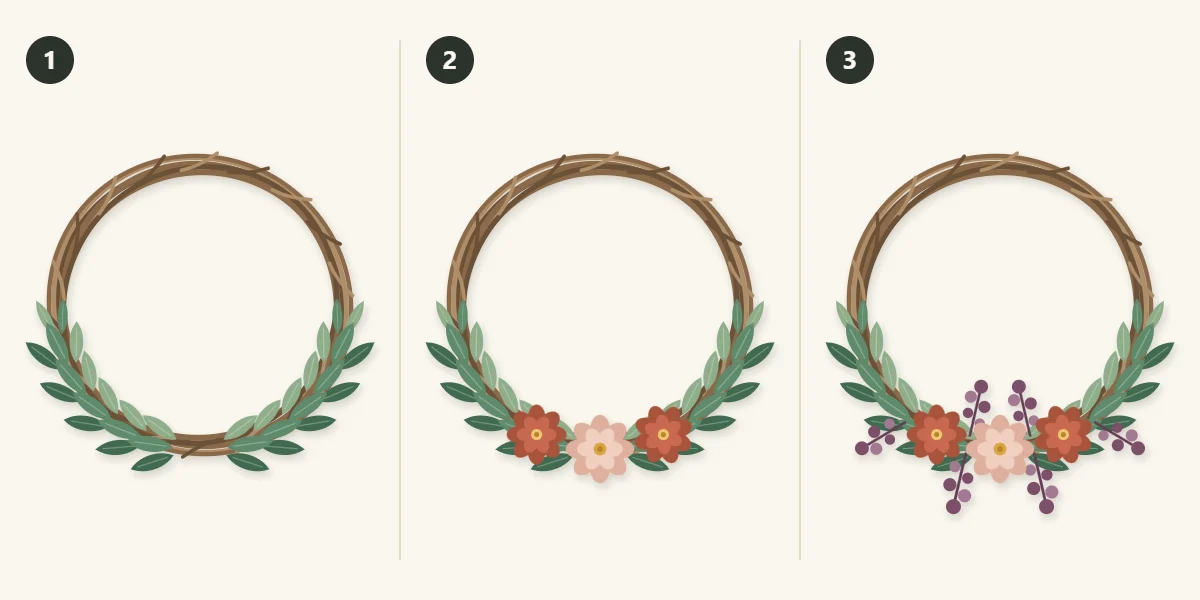
Working from the largest area of coverage to the smallest detail keeps you from burying the pieces you care about most.
- Greenery first. Find the bottom center of the ring. Tuck greenery pieces so they sweep away from that point in both directions, up the left side and up the right side, stopping about halfway up. Put the longest pieces at the outer ends and shorter ones near the middle. Let the vine show between leaves.
- Three large flowers next. Place the three focal flowers in a close cluster at the center of the greenery, where the two sweeps meet. Set them at slightly different heights and turn each one a little, so they do not sit in a straight row. Push each stem deep into the vines.
- Filler last. Tuck small filler sprigs between the flowers and just beside them. Filler closes the gaps where stems or wire would otherwise show and softens the edge of the cluster.
Stop and hold the wreath upright after each stage. Anything that swings down or drops out needs to go deeper or needs a wire. The different ways of fixing a stubborn piece are compared in the guide to attaching materials to a wreath.
Wire or Glue
How you secure the stems decides whether the base can be used again.
| Hold | Good for | Reusable base? |
|---|---|---|
| Tuck only | Light greenery with long stems | Yes |
| Tuck and wire | Flowers and heavier stems | Yes, snip the wires |
| Tuck and a dot of glue | Short stubs and small filler | Partly, glue leaves marks |
For a wreath you plan to change with the seasons, use wire only. When you want a new look, snip each wire at the back, pull the stems out along the twist and the base is bare again. If you do use glue, put one small dot on the stem just before you push it in. Hot glue and the tip of the gun both burn, so keep fingers clear and press stems in with a tool, not a fingertip.
Tip
Lay every piece on the base without fixing it first. Moving loose stems around is much easier than pulling wired ones out.
If Something Goes Wrong
- Stems stand up from the ring. They were pushed in across the twist. Pull them out and slide them in along it, at a lower angle.
- The cluster looks like a lump. The flowers are too close to the same height. Pull one forward and push one back.
- The wreath hangs crooked. The decoration is heavier on one side. Move the hanging point a little toward the heavy side, or shift one greenery piece across.
- Too much coverage. Take pieces out from the ends of the sweeps first. Bare vine is part of the design.
Hanging and Variations
A grapevine base needs no added hanging loop if a hook can catch a sturdy vine at the top, but a loop of wire or ribbon gives a neater hold. Check the weight rating of the hook you use. A covered spot is best, since sun and damp change faux stems and vine alike. Keep the wreath away from candles and heaters.
To change the look, add a bow at the bottom or off to one side of the flowers; the guide to making a wreath bow shows a simple layered one. For a less symmetrical layout, move the whole arrangement to one side of the ring, as in the crescent grapevine wreath.
Frequently asked questions
Do I need glue to decorate a grapevine wreath?
No. Most stems hold if you slide them between the vines along the direction of the twist and bury a good part of the stem. Add a short wrap of thin wire where a piece feels loose. Glue is useful only for very short stubs and small filler, and it makes the base harder to reuse.
How much of a grapevine wreath should be covered?
There is no fixed amount, but leaving part of the vine bare usually looks best because the base is decorative in itself. In this method the lower half is decorated and the upper half is left plain. If the wreath feels crowded, remove pieces from the ends of the greenery first.
Can I reuse a grapevine base after decorating it?
Yes, if the decoration is tucked and wired instead of glued. Snip each wire at the back, pull the stems out along the twist and the base is ready for something new. Glued pieces can often be pulled off too, but they tend to leave marks or take bits of bark with them.